
Colours and images
Give each attribute value its swatch colour or image on the term screens, and see them in the Swatch column.
An attribute's values (WooCommerce calls them terms) are listed under Products → Attributes → Configure terms. Each one has a Swatch colour and a Swatch image.
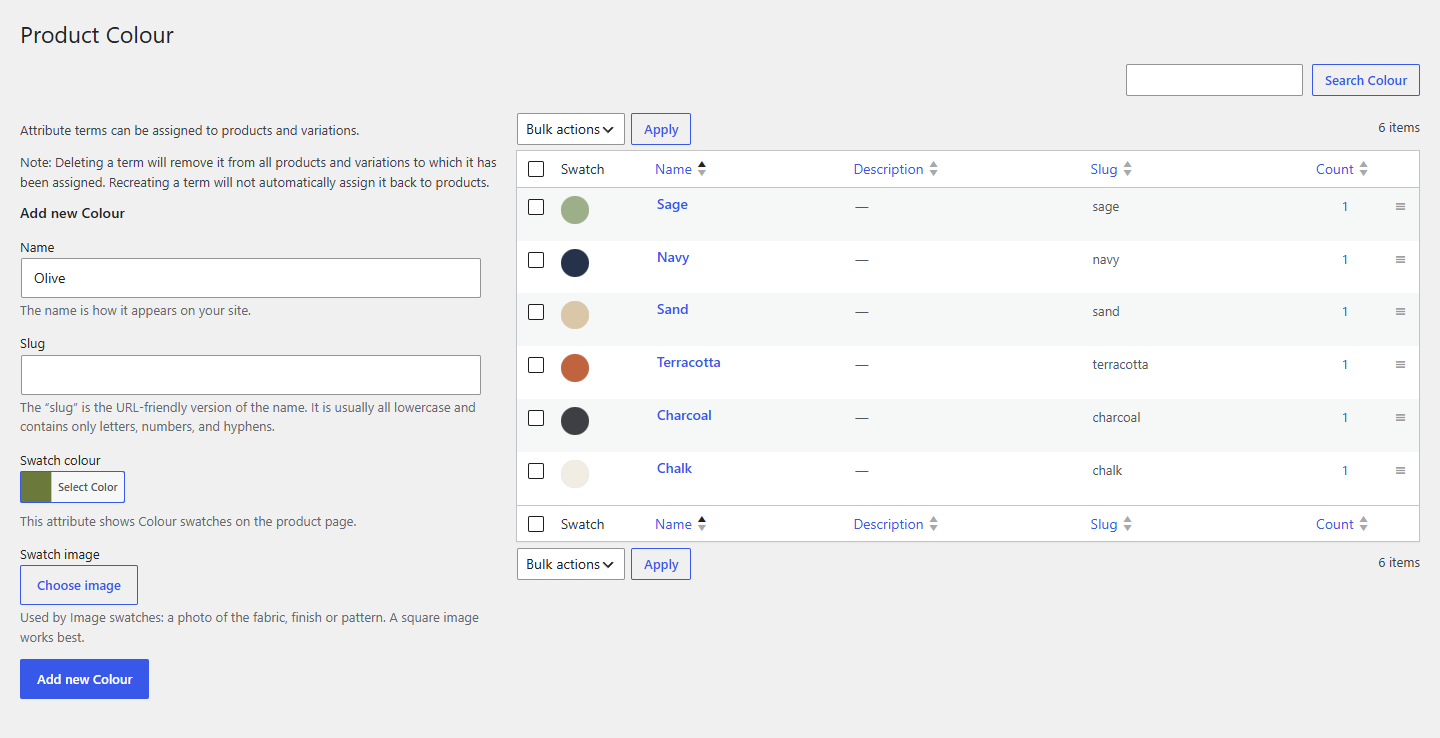
Set a colour
- Go to Products → Attributes and click Configure terms under the attribute.
- Click a value's name to edit it (or fill in the form on the left to add a new value).
- Under Swatch colour, click Select Color and pick the colour, or type its hex code (#9caf88).
- Click Update (or Add new …).
A colour swatch is one flat colour. Pale colours such as white or chalk get a thin outline on the product page so they don't disappear into the background.
Set an image
- Edit the value as above.
- Under Swatch image, click Choose image and pick or upload an image in the media library.
- Click Update.
Use a square crop of the material itself rather than a photo of the whole product: the swatch is small, and the customer is choosing the finish. Swatchline uses WordPress's thumbnail size for the swatch, and WooCommerce's catalogue size for the larger preview in the tooltip.
Remove under the image takes it off again (the image stays in your media library).
The Swatch column
The term list has a Swatch column with each value's colour and image, so you can check them all at a glance. A dash means the value has neither yet.
Which one is used
The attribute's swatch type decides: Colour swatches use the colour, Image swatches the image. You can set both, for example to switch an attribute from Colour to Image later.